
Caulking, Weatherstripping, and the Other Cheap Fixes That Actually Lower Energy Bills
In this article
Learn which simple, inexpensive home sealing tasks genuinely reduce drafts and heating costs, and which ones are overhyped.
Key Takeaways
- Air sealing with caulk and weatherstripping is one of the highest-return DIY investments a homeowner can make.
- The U.S. Department of Energy estimates that air leaks account for 25 to 40 percent of heating and cooling energy use in a typical home.
- Not every cheap sealing product delivers real savings; placement and material choice determine whether a fix works.
- Some popular fixes, like window film and draft snakes, have real but limited effects and work best alongside proper air sealing.
- A systematic walk-through to find leaks takes less than an hour and costs nothing.
Why air sealing outperforms most other cheap upgrades
Homeowners often assume insulation is the first place to spend money on energy efficiency. Insulation matters, but it cannot stop air movement. Warm air escaping through gaps around window frames, door thresholds, electrical outlets on exterior walls, and pipe penetrations in basements adds up to a significant portion of annual heating and cooling costs. The U.S. Department of Energy has long identified air infiltration as one of the largest controllable energy losses in American homes.
The appeal of air sealing is straightforward: the materials cost very little, the work requires no special skills for most locations, and the results are measurable in reduced drafts and, over time, lower utility bills. A tube of paintable acrylic caulk runs a few dollars. A roll of foam or rubber door weatherstripping costs slightly more. Neither purchase demands a contractor.
That said, air sealing is not a guaranteed cure for high bills. A house with adequately sealed air barriers but poor insulation will still lose energy through conduction. And some areas, such as where a chimney flue passes through a ceiling, need fire-rated materials and, in many jurisdictions, a licensed professional. Knowing when to call a pro prevents an inexpensive fix from becoming a safety issue.
Myth
Putting plastic film over windows in winter is just as effective as replacing them.
Fact
Window film reduces drafts from leaky frames but does not replicate the insulating value of a replacement window with modern glazing.
Interior plastic film creates a small dead-air pocket that adds a modest amount of insulation, which can reduce condensation and drafts around older single-pane windows. However, the film addresses the glass surface, not the frame, sash, or sill, where most of the air leakage actually occurs. Caulking and weatherstripping those joints typically delivers more measurable airflow reduction than the film alone. Film is a reasonable supplement for genuinely drafty old windows, not a substitute for sealing the surrounding frame.
Myth
Draft snakes placed at the base of a door stop cold air from entering.
Fact
Draft snakes slow airflow at the floor gap but leave the sides and top of a door unsealed, so the overall effect is partial at best.
A rolled towel or fabric draft stopper can block the most obvious cold stream at the base of a door. The problem is that a door has four edges, and significant air exchange also happens at the sides and top where the door meets the stop molding. A proper threshold seal combined with compression weatherstripping on the sides and top provides full-perimeter sealing that a snake cannot match. Draft snakes are worth using in the short term if installing weatherstripping is not immediately possible, but they are not a long-term replacement.
Myth
New weatherstripping is only necessary if you can visibly see daylight around a closed door.
Fact
Weatherstripping can fail and allow significant airflow long before visible daylight appears around the door.
Foam tape and some vinyl weatherstripping compresses over time and loses its ability to form a seal even when it looks intact. A simple test: close the door on a piece of paper and try to pull the paper out. If it slides out easily, the seal at that point is inadequate. Doing this test at several spots around the door perimeter gives a more accurate picture than a visual inspection. Replacing failed weatherstripping typically costs under $30 in materials for a standard exterior door.
Myth
Caulking around windows and doors is a one-time job.
Fact
Caulk cracks and separates as a house expands and contracts with seasonal temperature changes, and most exterior caulk needs inspection every few years.
Latex and silicone caulk are flexible, but repeated thermal movement eventually causes them to pull away from the substrate or develop cracks that allow air and moisture to pass through. Exterior joints, especially those exposed to direct sun and rain, degrade faster than interior ones. The practical approach is to include caulk inspection as part of a regular home maintenance routine rather than treating it as a permanent fix. Deteriorated caulk should be removed fully before new material is applied; applying fresh caulk over old failed caulk does not create a lasting seal.
Myth
Sealing a home too tightly creates dangerous indoor air quality problems.
Fact
Reasonable air sealing in most existing homes improves efficiency without reaching the airtightness levels that require mechanical ventilation.
Modern building codes require mechanical ventilation in new construction that meets tight energy standards, because those homes are built to very low air exchange rates. Most existing American homes are far leakier than that threshold even after thorough DIY air sealing. Caulking window frames and adding weatherstripping to doors will not push an older home into a range where ventilation becomes a concern. That said, homes with gas appliances, wood-burning fireplaces, or known radon issues should have those systems evaluated independently, since combustion appliances and soil gases require their own mitigation strategies. If there is any uncertainty, a home energy auditor can measure the actual air exchange rate.
Finding leaks before spending a dollar
The most practical starting point is a free self-inspection. On a windy day, hold a lit incense stick or a damp hand near window edges, door frames, baseboards on exterior walls, attic hatches, and any spot where a pipe, wire, or duct passes through an exterior surface. Moving air will disturb the smoke or register as a temperature change on skin.
Common leak locations that homeowners overlook include: recessed light fixtures on ceilings below an attic, the gap behind electrical outlet plates on exterior walls, the joint where a bathtub or shower surround meets the wall, and the sill plate where the house frame sits on the foundation. Caulking those spots can matter more than re-caulking a window that was already sealed five years ago and is still intact.
Seasonal maintenance checks are a natural time to work through this list, since temperature swings make gaps more obvious and materials easier to apply before extreme weather arrives.
Choosing the right material for each gap
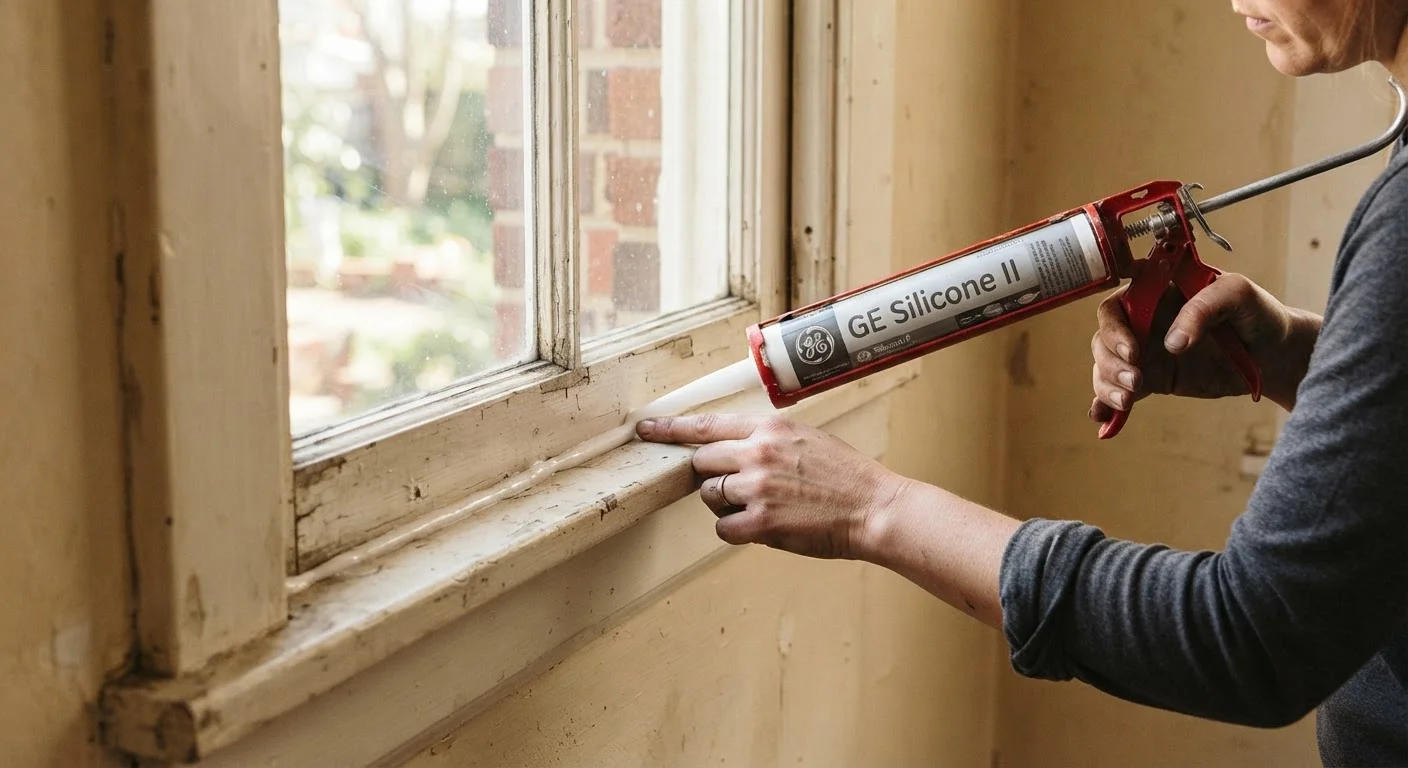
Caulk works for stationary gaps: the joint between a window frame and exterior siding, the seam where a wall meets the floor in an unfinished basement, or the penetration around a gas line. Silicone caulk holds up where moisture is present; paintable acrylic latex caulk works well on interior trim. Gaps wider than about half an inch need backer rod foam inserted first so the caulk has a proper surface to adhere to.
Weatherstripping is for moving parts: doors, operable windows, and attic hatches. Door bottoms lose the most air of any single opening in many homes. A door sweep or threshold seal addresses the gap at the floor; compression or V-strip weatherstripping addresses the sides and top. Foam tape is the least durable option; it compresses and loses its seal after one or two seasons of regular use. Rubber, vinyl, or metal options last considerably longer.
Outlet and switch plate gaskets are foam inserts that fit behind the cover plate on exterior walls. They are inexpensive, take about two minutes per outlet to install, and require no tools beyond a screwdriver. They will not transform an energy bill on their own, but combined with other sealing work they contribute to a tighter overall envelope. See the caulk replacement guide for bathroom-specific sealing steps that also help with moisture control.

Author
Home on a Budget Editorial Team
Home on a Budget Editorial Team is the collective byline for our editorial team and contributor network. Articles published under this byline or an editorial pen name are researched, written, and reviewed according to our editorial standards for clarity, consistency, and independence before publication.
View all articles